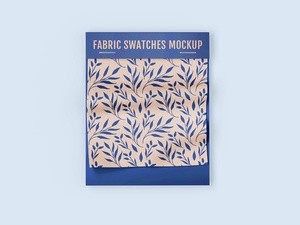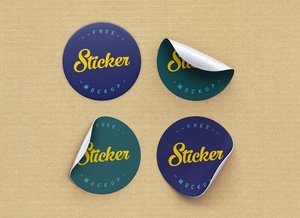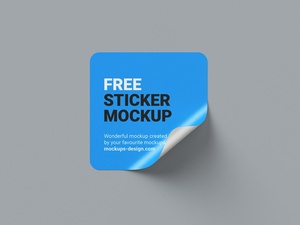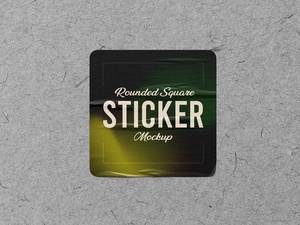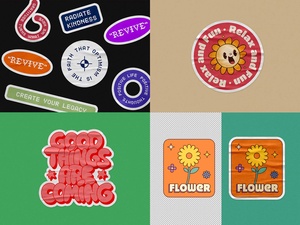





Glued & Worn Rounded Square Sticker Mockup
When applying a vinyl sticker to a glass surface, the most common challenge is preventing unsightly wrinkles and air bubbles from ruining the finish. Achieving a professional, flawless result is surprisingly simple if you follow a meticulous preparation and application process.
The Secret to a Perfect Application The foundation of a successful application lies in the cleanliness of the substrate. To ensure maximum adhesion, prepare a cleaning solution by mixing isopropyl alcohol with water. Thoroughly wipe down the glass surface using kitchen tissues or a lint-free cloth. It is critical to ensure the area is entirely free of dust particles, oily residues, or stubborn adhesive left behind by previous decals. A pristine, bone-dry surface is the only way to guarantee a smooth, long-lasting outcome.
Step-by-Step Technique For rectangular or square-shaped stickers, a controlled, incremental approach is best: 1. Initial Alignment: Begin by carefully positioning and pasting the two top corners onto the glass to set your alignment. 2. Gradual Peeling: Slowly peel away the backing paper from underneath the sticker, working from the top down. This prevents the entire adhesive side from grabbing the glass at once, which is the primary cause of bubbles. 3. The Squeegee Method: Use a squeegee to firmly press the vinyl onto the glass as you reveal the adhesive. Move the squeegee in a consistent horizontal fashion—wiping from left to right—to push air out toward the edges. 4. Correction: If you notice a bubble forming, gently peel back that section of the sticker, smooth it out, and re-apply. This methodical technique works effectively for both small decals and large-scale graphics, ensuring a wrinkle-free finish every time.
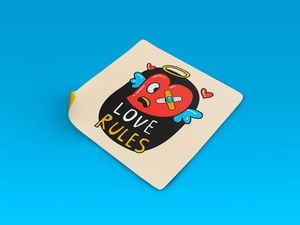
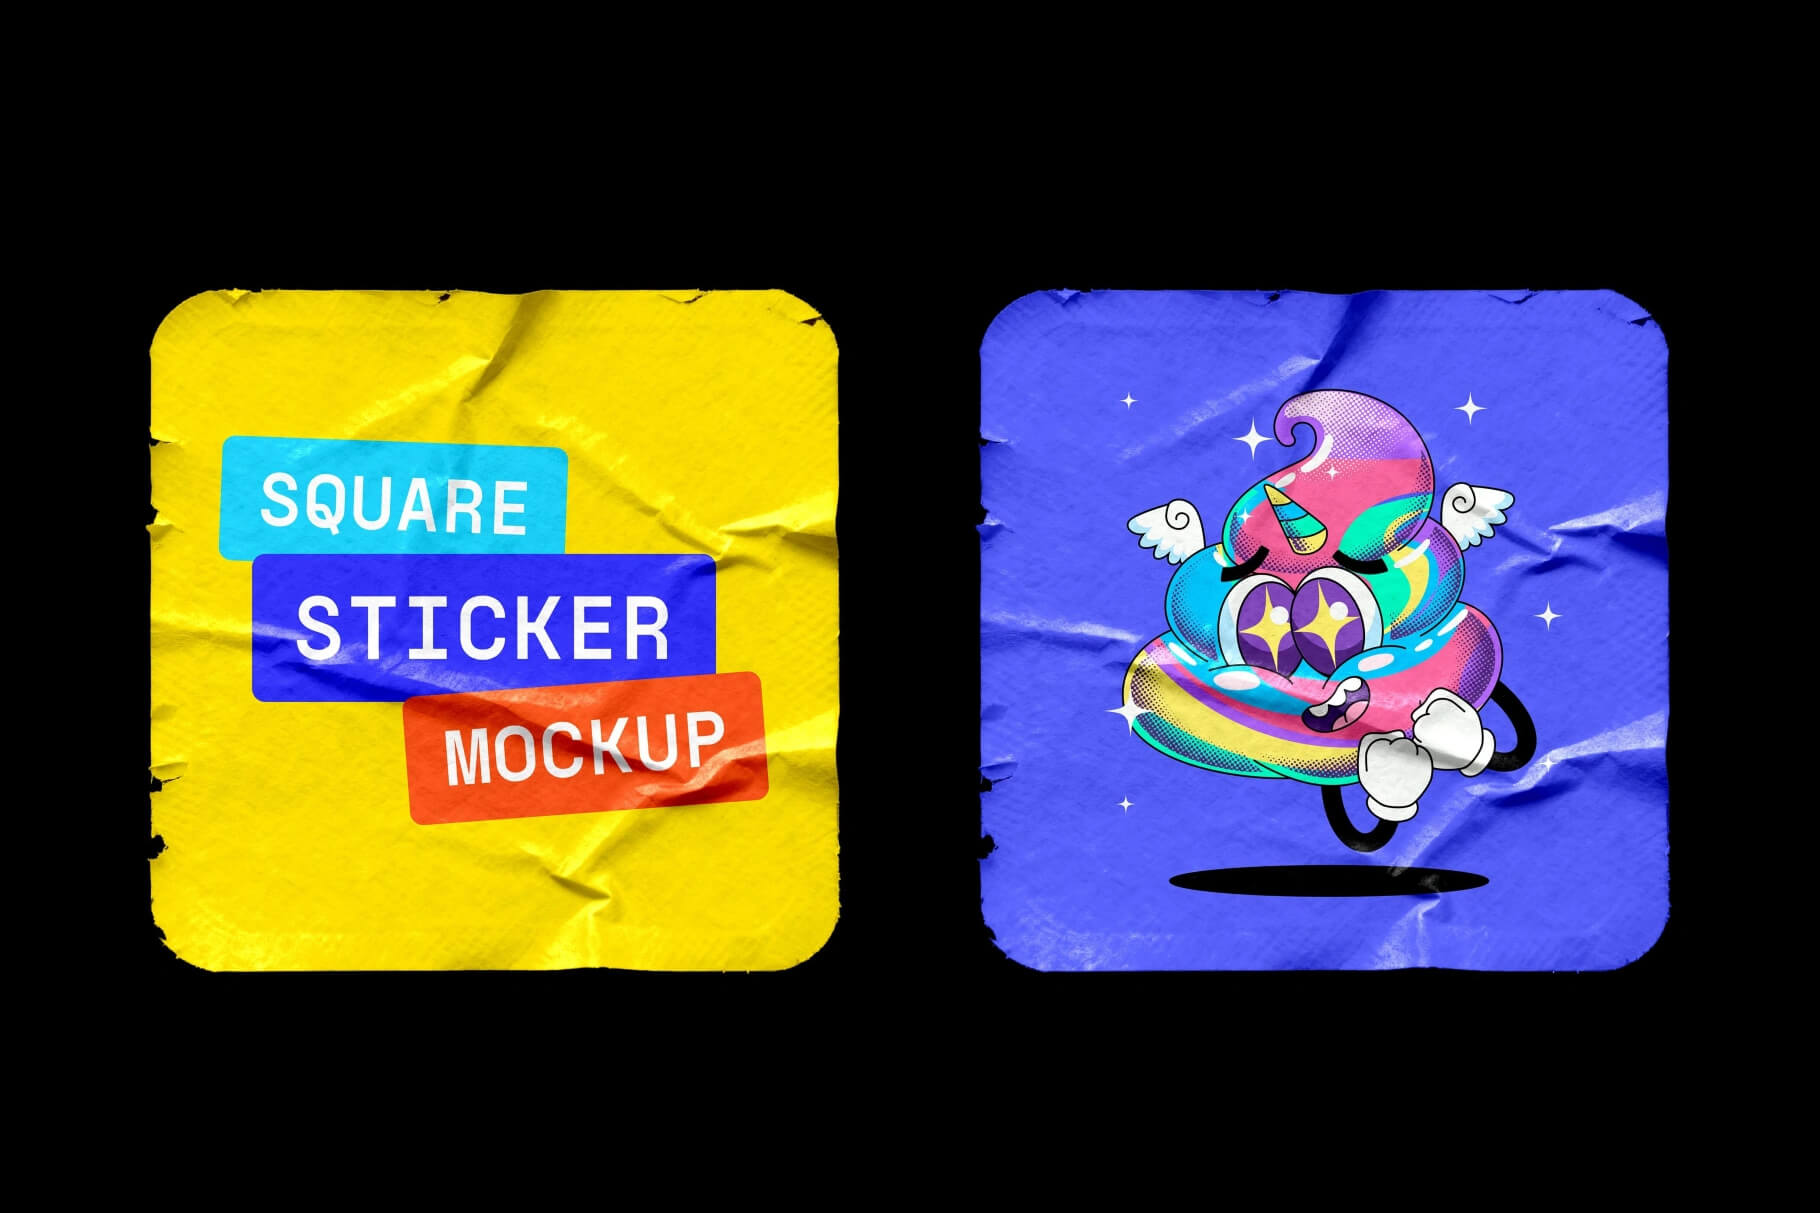
Showcase Your Designs with Our Premium Mockup To help you visualize your creative work in a real-world setting, we are offering a specialized "Glued and Worn" rounded square sticker mockup. This PSD template is designed to give your artwork a realistic, weathered texture and natural contours, making it perfect for professional presentations.
Product Features & Description: * Format: High-quality, layered PSD file with smart object integration for effortless editing. * License: Free for use in both personal and commercial projects. * Dimensions: High-resolution file at 4500 x 3000 px, ensuring crisp detail. * Compatibility: Requires Adobe Photoshop CS5 or higher.
Instructions for Use: 1. Open the PSD file in Adobe Photoshop. 2. Locate the designated Smart Object layer and double-click it. 3. Paste your custom artwork into the layer, save it, and the mockup will automatically update with a realistic, textured effect.
Download this professional sticker mockup today to bring your digital designs to life with an authentic, tactile aesthetic.