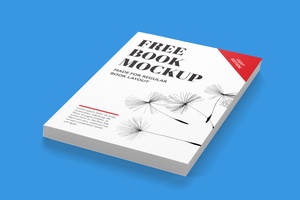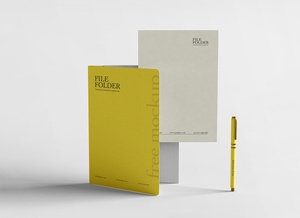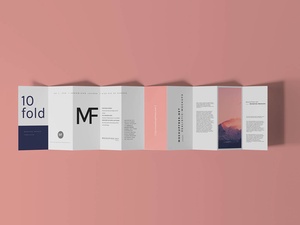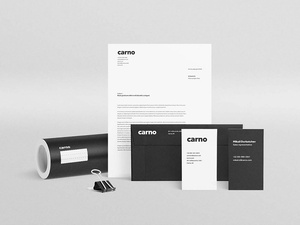


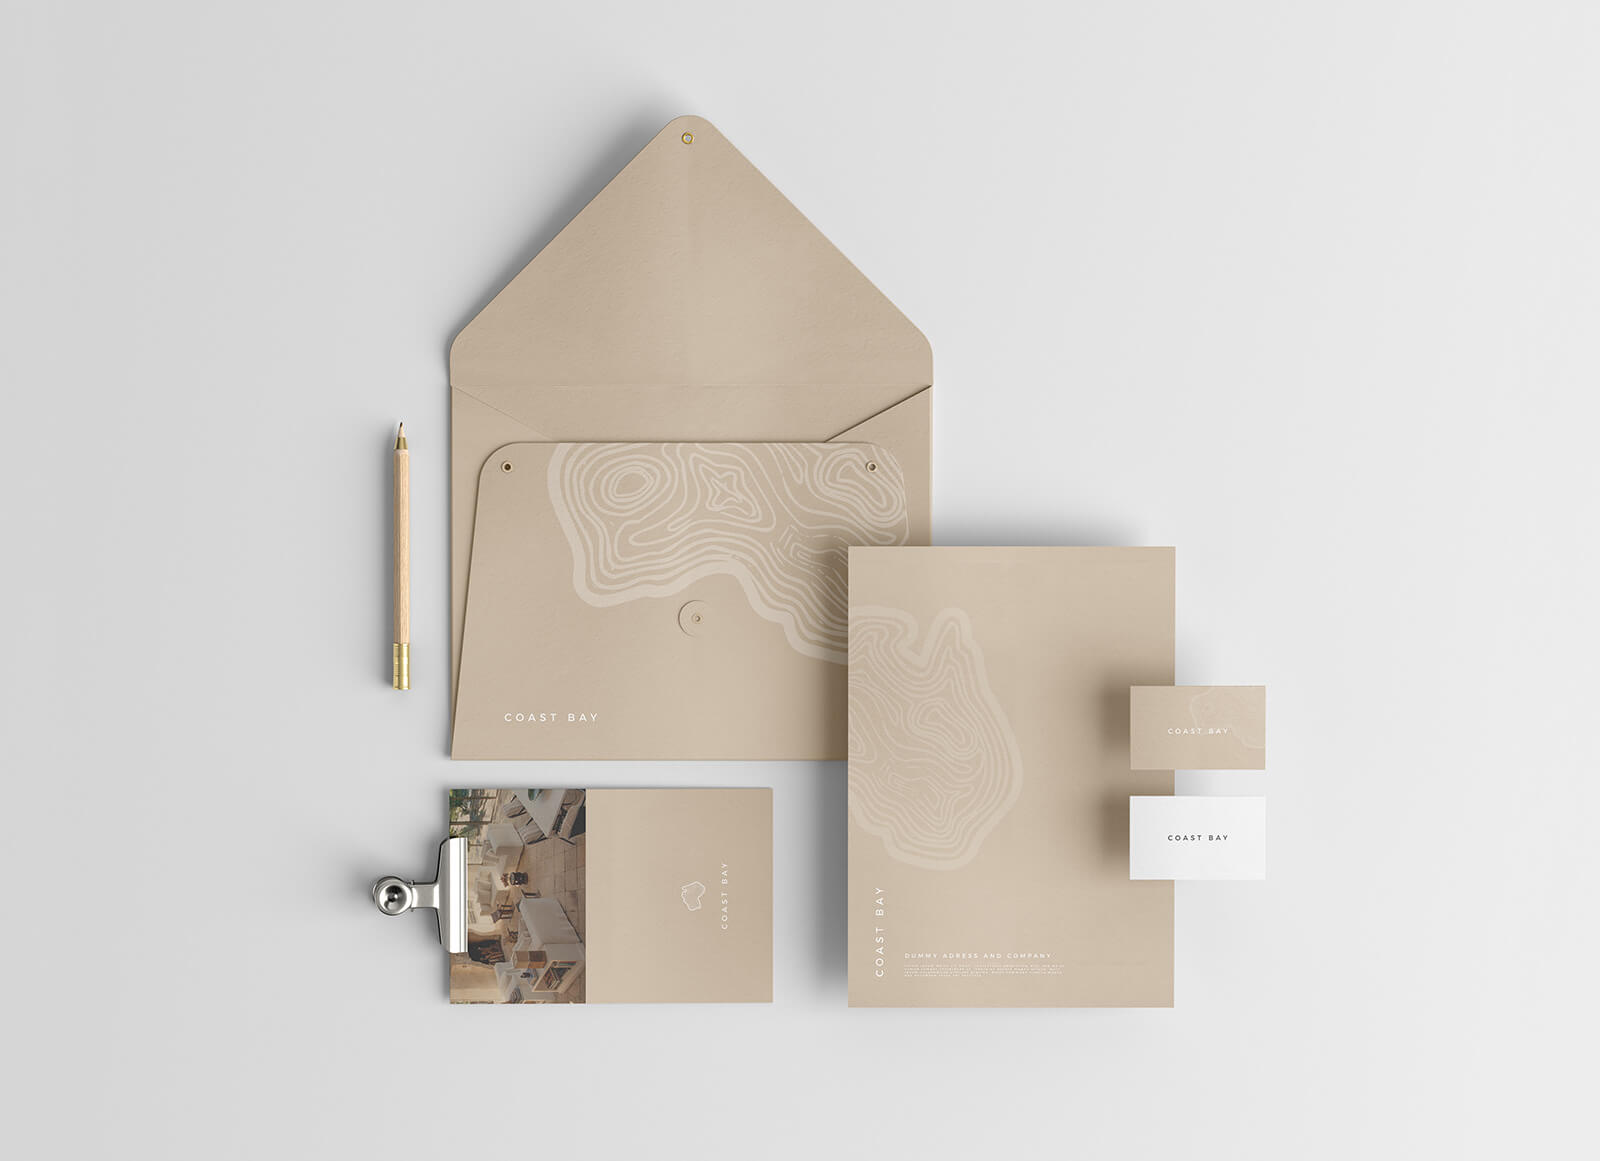
Elegant Stationery Mockup
When presenting your stationery designs, you have the choice between using actual printed versions or 3D software mockups. Each method has its advantages and considerations. Here's a brief overview of both approaches:
-
Actual Printed Version:
-
Pros:
- Authentic Look: Using actual printed stationery items can provide a tangible and authentic representation of your designs.
- Realistic Lighting: When photographed well, printed versions can capture lighting nuances and textures effectively.
- Customization: You have more control over the physical setting and can experiment with various elements.
-
Cons:
- Time-Consuming: Preparing and photographing actual stationery items can be time-consuming, especially if you're adjusting lighting and settings.
- Cost: You may need to invest in a good camera, lighting equipment, and possibly a professional photographer for high-quality results.
-
-
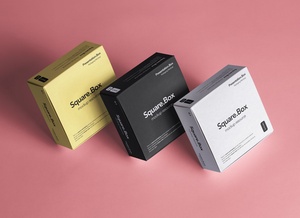
3D Software Mockup:
-
Pros:
- Quick and Convenient: Using 3D software mockups is a fast and convenient way to showcase your stationery designs.
- Realism: High-quality 3D mockups can provide a realistic look, often with detailed textures and shadows.
- Consistency: You get consistent results every time, and you don't need to worry about factors like lighting or background.
-
Cons:
- Limited Customization: Many 3D mockups have fixed backgrounds and elements, limiting customization options.
- May Lack Authenticity: Some clients may prefer to see real, physical representations of the stationery.
-
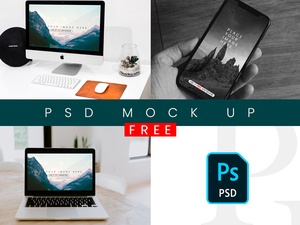
If you choose to use a 3D software mockup for your stationery design, here's how you can make the most of it:
-
Download and Extract: Start by downloading the mockup files and extract them from the ZIP archive if needed. Save the files to your computer.
-
Open the PSD File: Launch Adobe Photoshop or compatible software that can open PSD files. Open the mockup PSD file.
-
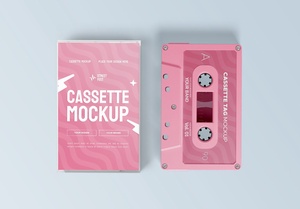
Edit the Mockup: Within the PSD file, you'll find smart object layers for each stationery element (business cards, letterhead, envelopes, etc.). Double-click on the appropriate smart object to open it for editing.
-
Replace Placeholder Design: In the smart object window, replace the placeholder design with your own stationery design. Ensure that your design fits the dimensions of the smart object and aligns properly.
-
Adjust Background (if possible): Some 3D mockups allow for background customization. If this is the case, you can change the background to match your branding or presentation concept.
-
Save and Close: After you've edited the stationery design and background (if applicable), save your changes within the smart object window and close it. This will update the main mockup file.
-
Review and Finalize: Take a moment to review the mockup to ensure your stationery design looks as intended. Pay attention to details, color accuracy, and overall presentation.
-
Export and Use: Once you're satisfied with the mockup, save the entire PSD file. You can then export the mockup as an image file (e.g., JPEG or PNG) to use in your portfolio, client presentations, or any other context where you want to showcase your stationery design.
By following these steps, you can effectively use the elegant stationery mockup in PSD format to showcase your stationery designs in a realistic and visually appealing way, even if you opt for a 3D software mockup.